#
Timeline & Tools Overview
#
Getting to Know the ✨ Reflow Timeline ✨
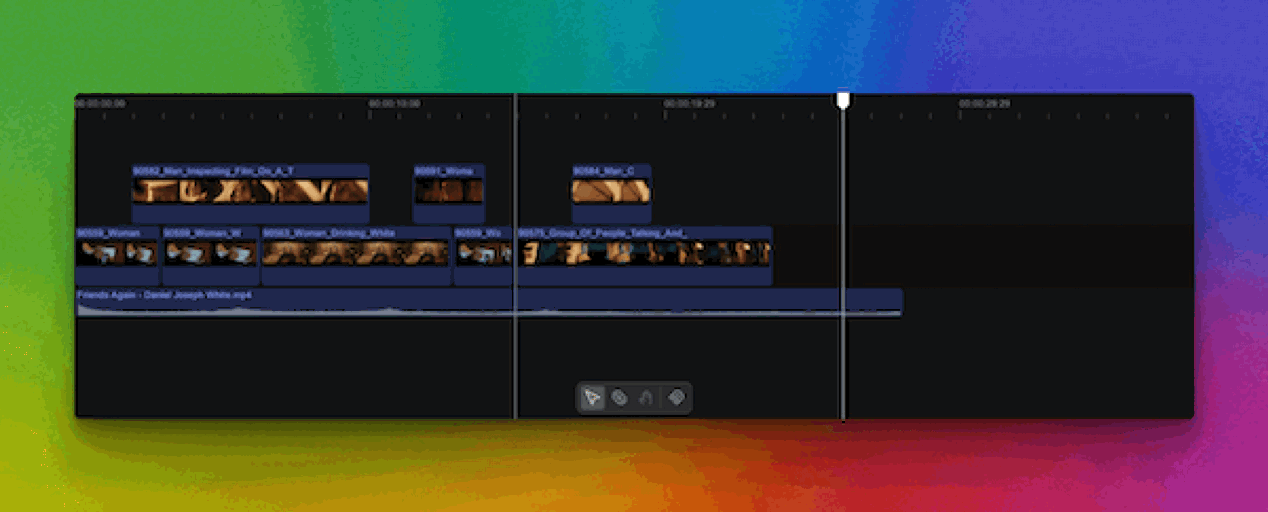
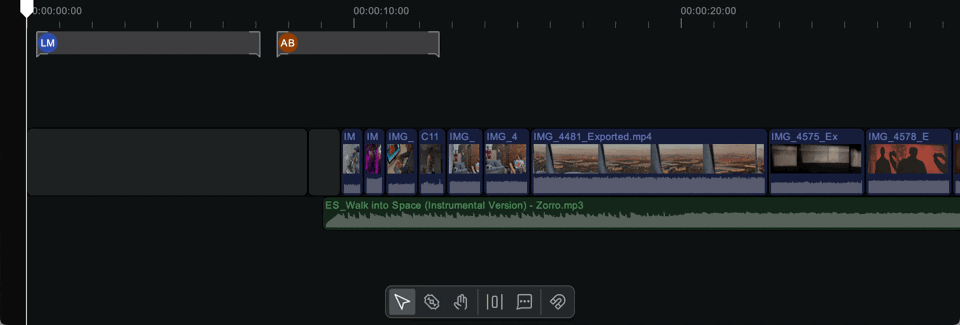
- Primary Lane: The primary lane is the main continuous track, where all clips added to it will be placed in sequence and will automatically reflow the rest of the timeline according to any layout changes or trimming. This ensures that any changes made by multiple users in one section of the timeline will not negatively impact other parts of the timeline.
- Attached Clips: When clips are added above or below the primary lane, they become attached clips. The start time of these attached clips is anchored to the corresponding clip in the primary lane above or below it. If the primary lane clip is moved, any attached clips will also move along with it.
- Skimmer: The skimmer is attached to your mouse when you are hover over the timeline and allows you to preview the frames below your mouse at any point in time.
- Playhead: The playhead represents a set point in time you want to navigate to. To move the playhead position, click on the section of the timeline you want to go to. When you play back the timeline, the playhead represents the playback progress.
- Toolbelt: The toolbelt is where you can find tools and settings to interact with the timeline in different ways.
#
Clip Operations
#
Moving Clips
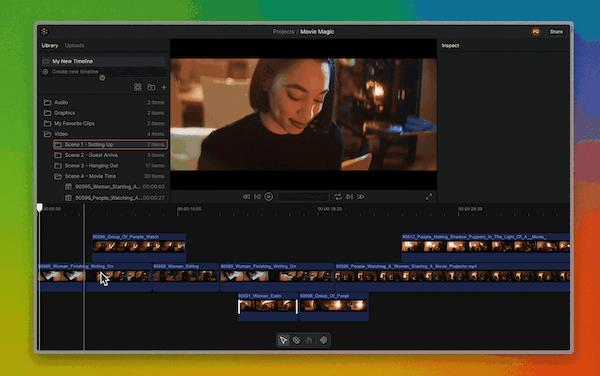
- Click and drag on clips in the library to drag them into the timeline, or click and drag on clips within the timeline to move them around
- The timeline will automatically reflow to make space for the new layout, while maintaining the relationship and sync of other clips in the timeline
- If the clip you’re moving is a storyline clip with attached clips, the attached clips will move along with it
#
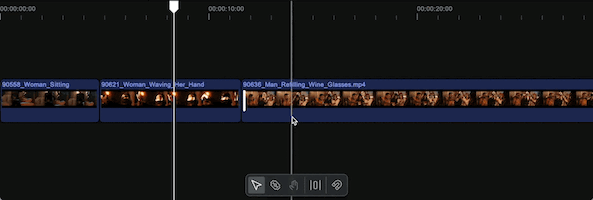
Trimming Clips
- Hover over any clip in the timeline and you will see white trim handles on the beginning and end of the clip
- The reflow timeline will adjust adjacent clips to keep their relationship in sync
- If you trim a storyline clip with attached clips, the attached clips will maintain their position until the trim is complete. If the storyline above or below the attached clips changed, the attached clip will attach to a new storyline clip
#
Cutting Clips
- To cut clips, switch to the Blade Tool by clicking on the blade icon in the toolbelt or by pressing
Bon the keyboard - To cut a single clip, hover over it and click where the red line represents the cut point
- To cut across all the clips at a point in time, hold down
Shifton the keyboard and then click
#
Panning the timeline with the hand tool
To move the timeline viewport without scrolling or swiping, you can use the panning tool. Just select the hand from the toolbar or press the H key, then click and drag anywhere in the timeline.
#
Add placeholders to the timeline
Sometimes you really need a blank space in the primary lane, or a placeholder to indicate where other things could go, or just a non-visual element used as a backbone to support other media — this is where placeholders come in.
- Click on the placeholder icon or press the
Pkey. - A placeholder element will attach to the mouse. Navigate to where it should go in the timeline and then click to release the placeholder.
- From there, placeholders can be trimmed, cut, and arranged like any other clip, but they will not composite any visual or audio elements in the output of the timeline.
#
Timeline Preferences
#
Toggle snapping
To enable or disable the ability to snap clips to the edges of adjacent clips, click on the magnet icon in the toolbar or press the M key.