#
Using the Inspector
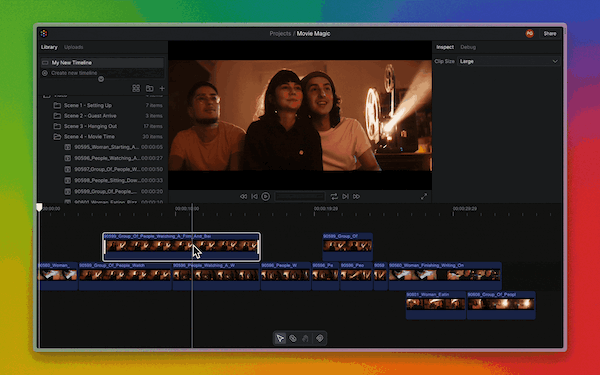
The inspector displays the available actions you can take based on the current selection.
#
Timeline Settings
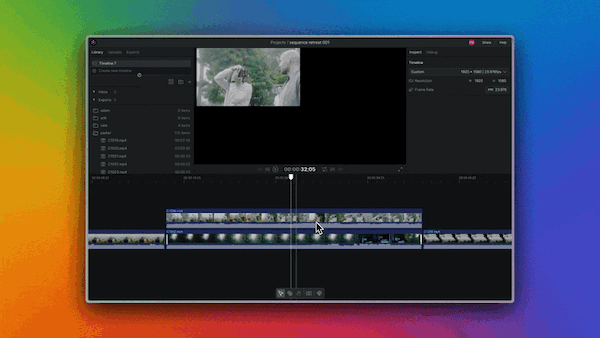
When a timeline is selected from the timeline picker, use the inspector panel to view and change the settings of the timeline.
Learn more: Creating & Navigating Timelines
#
Clip Settings
#
Size
Change the size of attached clips outside of the storyline in in the inspector panel (useful for tidying up busy timelines)
You can also use the keyboard shortcut R to quickly toggle between these sizes.
#
Position
Change the position of a clip within a timeline. The position is anchored to the top left corner of the preview when X and Y are both 0. The resolution of the timeline determines the bottom and right edges.
#
Scale
When a clip is brought into a timeline, it will be rescaled to fit within the timeline resolution.
The width and height can also be customized using the W and H inputs.
#
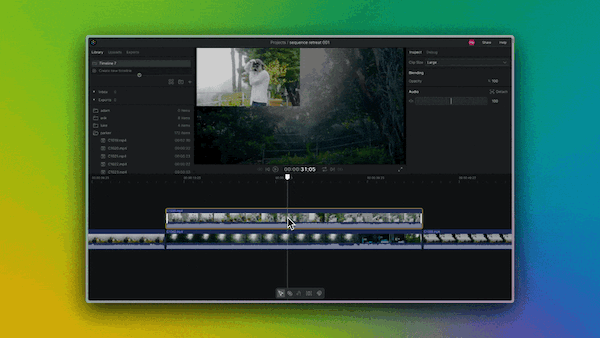
Opacity
Change the opacity of a selected clip between 0 and 100%.
#
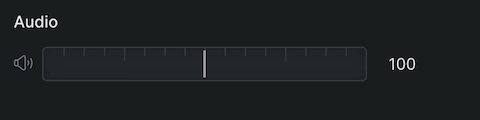
Volume
Change the volume of a clip between 0 and 200%.