#
Preview & Playback
#
Previewing Library Items
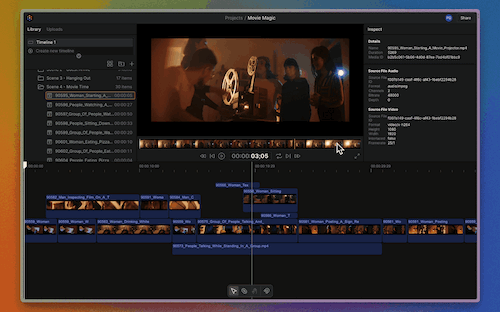
Once a file is selected in the library:
- Hover over the filmstrip preview to skim the contents of the file
- Click anywhere on the filmstrip to move the playhead position to that frame
- Press the spacebar or use the play/pause button to start and stop playback
#
Mini Preview
Before you select clips, you can also get a quick visual preview of them in the library panel by hovering over an asset.
#
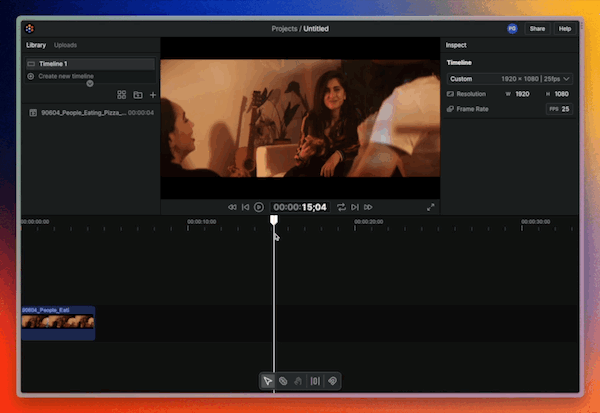
Previewing Timelines
Click on any timeline from the timeline picker, or anywhere on the background of an open timeline:
- If it’s the first time accessing that timeline during the current session, the timeline clips need to be loaded into the project system. A rainbow progress bar above the timeline will display this progress.
- Once it loads, hover anywhere in the timeline to skim it
- Click anywhere on the timeline background to move the playhead position to that frame.
- Press the spacebar or use the play/pause button to start and stop playback.
- NOTE: The timeline will dim and become non-interactive during playback to prevent changes from interrupting the steam. Pause the stream to load any changes and work in the timeline again.
#
Timeline Playback Controls
To start and stop the timeline, use SPACEBAR or the play/pause button in the preview controls.
To move forward and backward one frame at a time, use the frame stepping buttons in the preview controls or use the right and left arrow keys.
Hold shift while doing this to move 10 frames at a time.

To navigate to the previous and next edit points in the timeline, use the up and down arrow keys.
#
Loop Playback
By default playback will end at the end of a library clip or at the end of a timeline. You can enable the loop toggle in the playback controls to make playback loop continuously until manually pausing it.
#
Use Ranges to Select Just What You Need from a Clip in the Preview
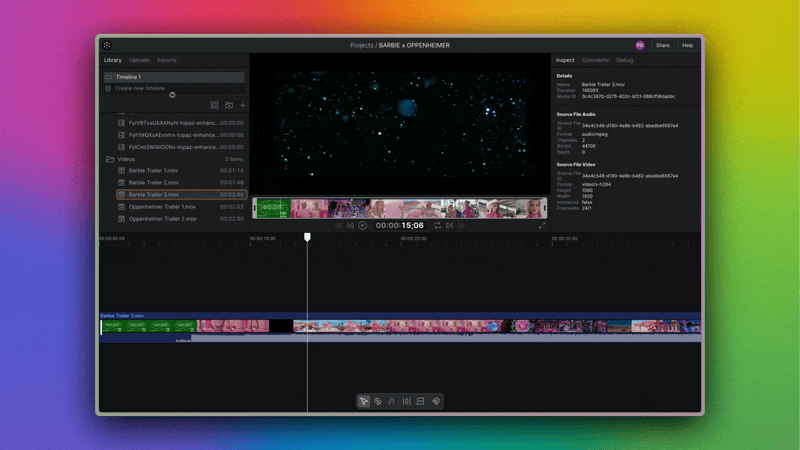
Adding entire clips to the timeline and then cutting or trimming down to what you need can be time consuming. Ranges enable a classic editing technique known as "3-point editing" that helps save you time by letting you select just the portion of a clip you need and add it to the timeline.
- When you select a library item to preview, the entire range is selected by default.
- Use the trim handles to adjust the range to the portion of the clip you want to use.
- You can also use the keyboard shortcut
[to set the beginning of the range and]to set the end of the range. - Once you have the range set, you can drag it into the timeline.
- To reset a range to the entire clip, press
Xon your keyboard.