Color Grading
Your color suite in the cloud. Transform flat footage into cinematic gold, collaborate with confidence, and keep your creative vision consistent from first frame to final delivery.
Say goodbye to the days of "we'll fix it in post" meaning "we'll fix it in another app at another time." Sequence brings professional color crafting right into your editorial workflow, transforming the traditional post-production pipeline in to a seamless creative journey. From basic LOG conversion to sophisticated creative grades, the tools you need are already where you're working.
Start with our extensive library of camera-specific correction LUTs, instantly transforming flat LOG footage into balanced, broadcast-ready imagery. Then dive deeper with intuitive color wheels, precise exposure controls, and create LUT looks that let you explore possibilities while maintaining the flexibility to adjust at any point in your process.
Share perfectly synced review links with clients, collaborate across teams in real-time, and keep your creative vision consistent from rough cut to final delivery. Whether you're creating quick proof-of-concept grades or crafting your final look, Sequence keeps your color journey fluid, connected, and always in perfect sync with your edit.
Color Grading in Sequence
Transform your footage with professional color tools
Look Up Tables#
Camera-Log Correction LUTs#
- Select the clip(s) you want to correct.
- Choose from a variety of camera-specific LUTs:
- Apple Log
- Blackmagic Film
- Canon C-Log & C-Log 3 Cine
- DJI D-Log M, D-Log, & Osmo Pocket 3 Log
- Fuji F-Log
- Nikon N-Log
- Olympus OM-Log400
- Panasonic V-Log
- Sony S-Log 2 & S-Log 3
- Custom LUTs (coming soon)
Creative LUTs#
- Select the clip(s) you want to grade.
- Choose from a variety of creative LUTs:
- 18 cinematic creative LUT looks
- Adjustable LUT intensity
Color Grading Controls#
Adjustments#
- Select the clip(s) you want to adjust.
- Use the Light Adjustment sub-module to control light & tone properties:
- Exposure
- Brightness
- Contrast
- Highlights
- Shadows
- Whites
- Blacks
Use the Color Adjustment sub-module to control color properties:
- Temperature/tint balance
- Saturation control
- Vibrance enhancement
- Global hue adjustment
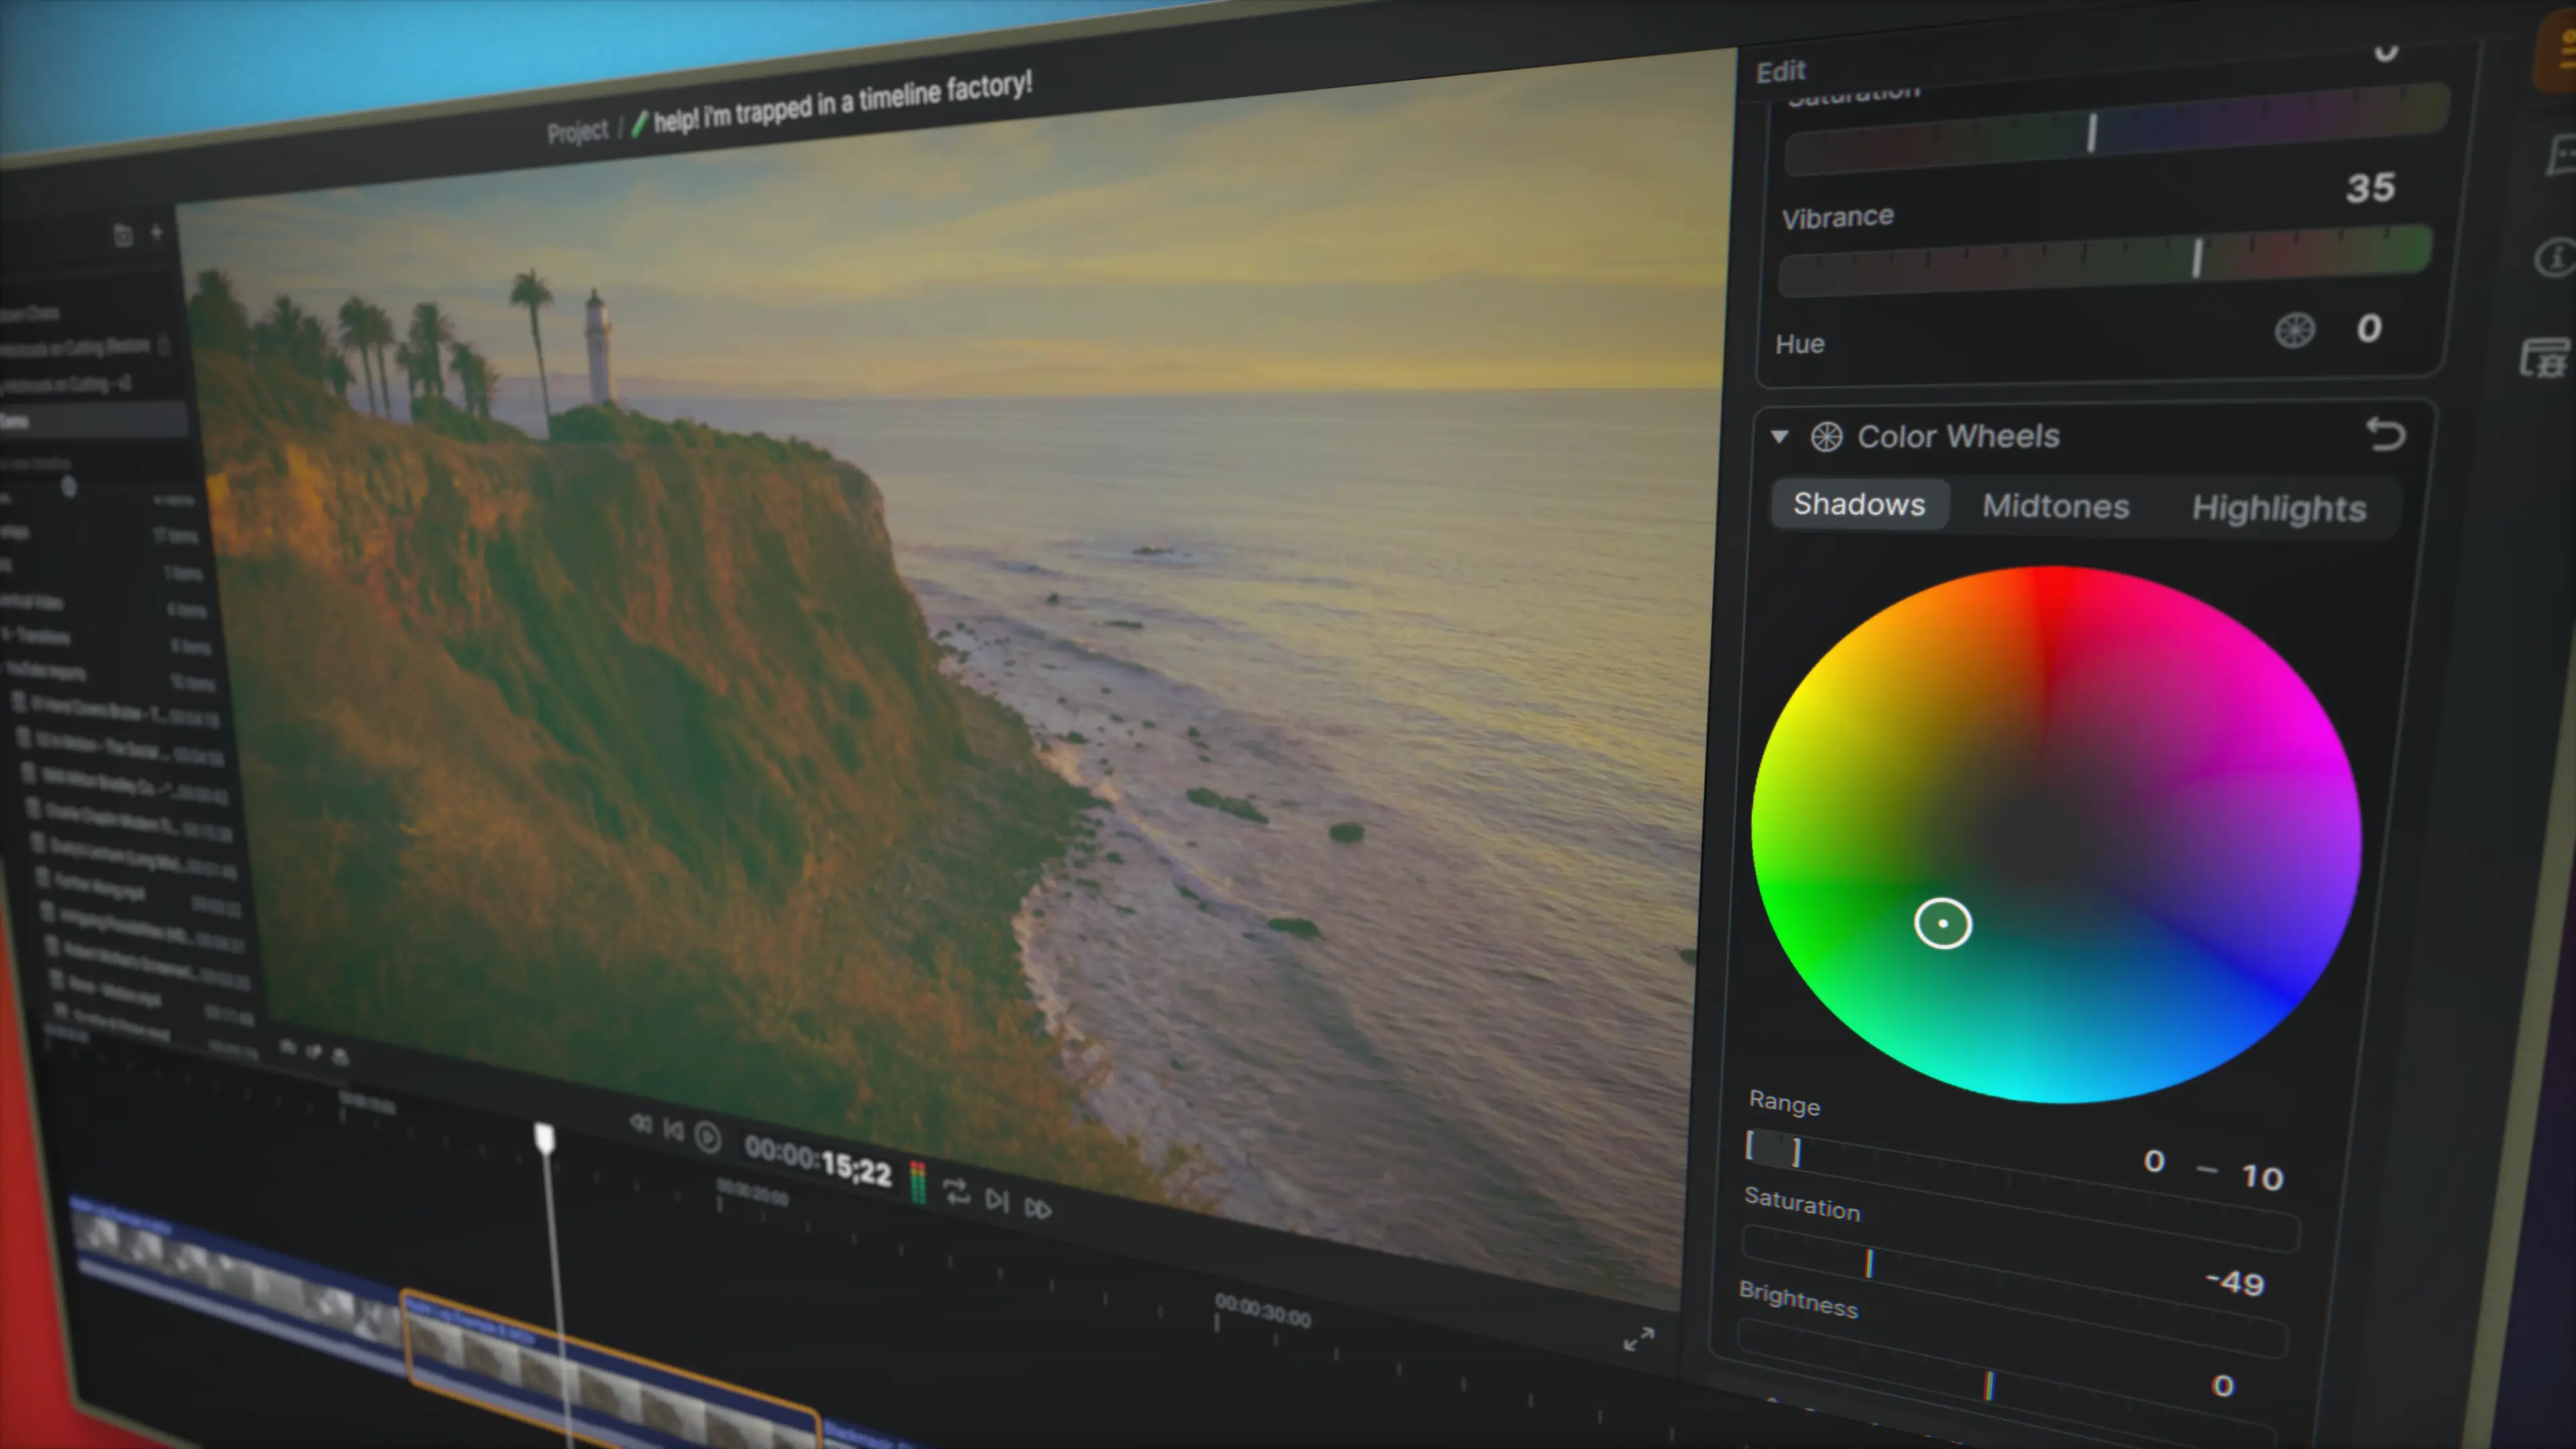
Color Wheels#
- Select the clip(s) you want to adjust.
- Use the Color Wheels sub-module to adjust the following attributes across the shadows/midtones/highlights of the clip(s):
- Hue Angle + Hue Intensity (how much to mix into the image)
- Range (how much of the shadows/midtones/highlights are affected by the adjustment)
- Saturation (overall saturation of the tonal range)
- Brightness (overall brightness of the tonal range)
Workflow Integration#
- Grade while editing
- Real-time collaboration
- Instant client review links
- Consistent color preview
- Non-destructive adjustments
Pro Tips#
- Start with camera correction LUTs before creative grades
- Use Color Wheels for precise scene-specific adjustments
- Save favorite looks for consistency across projects
- Leverage real-time preview for instant client feedback
- Combine creative LUTs with manual adjustments for unique looks
Perfect For#
- Editors crafting temp looks during rough cuts
- Colorists working directly with editorial
- Directors exploring visual styles in real-time
- Production teams needing quick turnaround
- Remote color review sessions