When a video clip carries sound, Sequence keeps that audio attached to the clip. You can split the audio onto its own timeline element to edit it independently, and you can set a clip's playback level, mute it, or animate the level over time — mostly from the inspector's Volume controls, with a keyboard shortcut and a right-click command for muting.
To detach a clip means to separate its audio into its own audio element on the timeline, so you can move, trim, or effect the sound apart from the picture.
Detach a clip's audio#
Detaching leaves the video clip in place and creates a new audio-only element for its sound. Any clip that carries an audio stream can be detached; audio-only elements and multicam clips can't.
- In Sequence, open the project and select the clip on the timeline.
- Do any of the following:
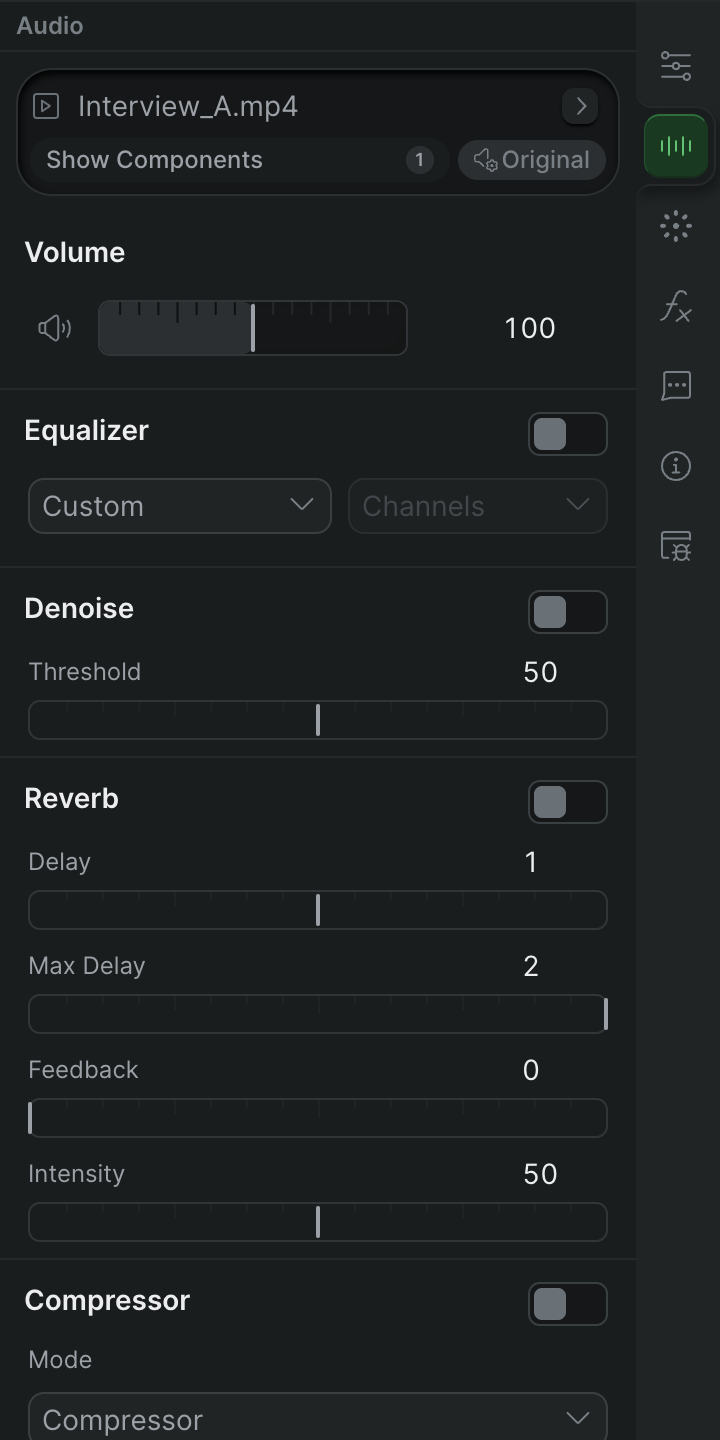
- In the inspector's Volume module, click Detach audio. This button appears only when the selected clip has audio to detach.
- Right-click the clip and choose Detach audio.
- Press Option-D (Windows: Alt-D).
Sequence adds a separate audio element to the timeline. You can now select, move, and trim that audio on its own while the video clip keeps its picture.
Set a clip's volume#
- In Sequence, select the clip whose audio you want to adjust.
- In the inspector's Volume module, do either of the following:
- Drag the volume slider to set the level.
- Type a percentage into the field beside the slider.
The level is a percentage of the clip's original loudness: 100% is unchanged, values below it make the clip quieter, and you can boost up to 800% to amplify quiet source audio.
Note
Volume changes are shared with your collaborators as you make them, and they can be undone.
Mute a clip#
Muting silences a clip by dropping its level to 0%.
- In Sequence, select the clip you want to silence.
- Do any of the following:
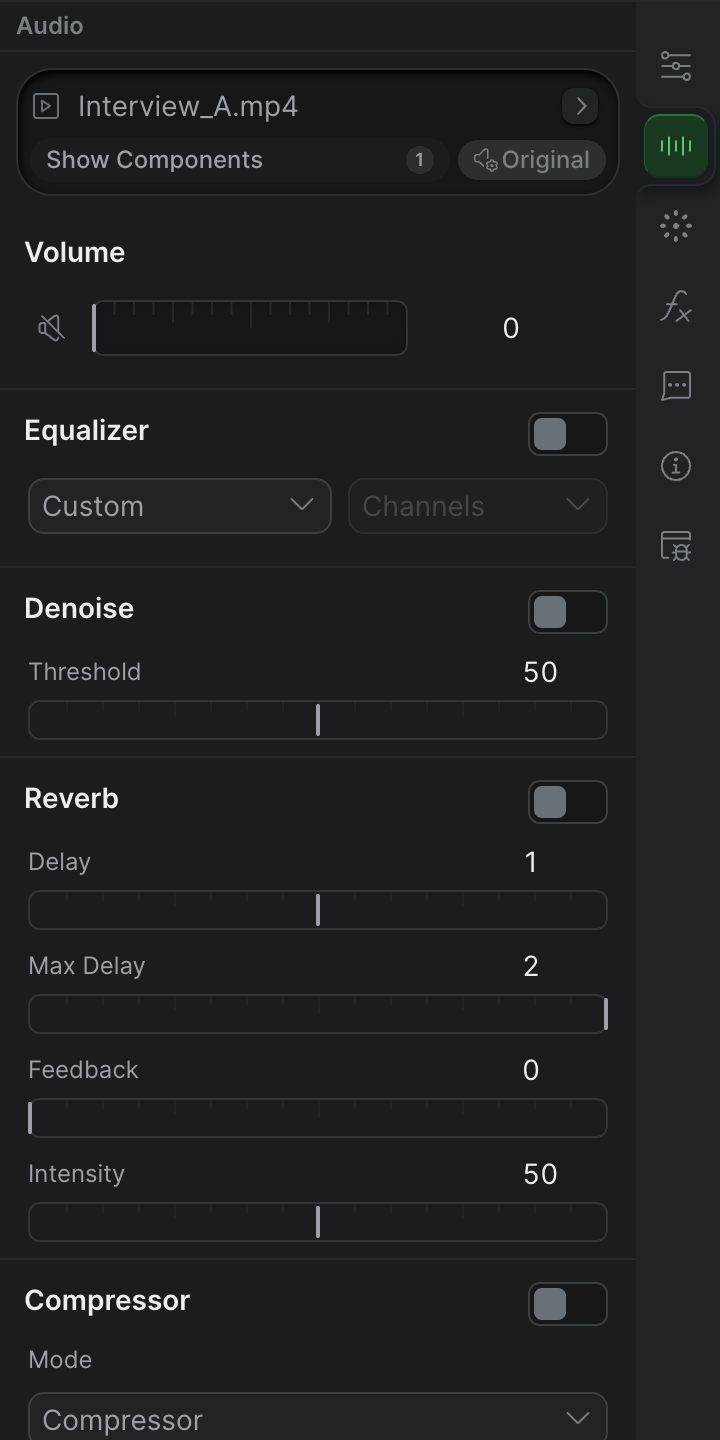
- In the inspector's Volume module, click the speaker icon.
- Right-click the clip and choose Mute/Unmute.
- Press Shift-M.
The clip's level drops to 0% and the speaker icon shows a muted speaker. Repeat any of these actions to restore the clip to full volume (100%).
Note
Shift-M and the right-click Mute/Unmute command act on every clip you have selected, so you can silence or restore several clips at once. Unmuting always returns a clip to 100%, not its previous level.
Animate the volume over time#
The volume field is keyframable, so you can fade a clip up or down instead of holding one level. It works the same as keyframing any other property.
- In Sequence, move the playhead to where you want the level set.
- In the Volume module, set the level with the slider or the field.
- Click the keyframe button on the volume field to add a keyframe at the playhead.
- Move the playhead to another point and set a new level to add the next keyframe.
Sequence interpolates the level between keyframes. To shape the fade curve, see Animate with the keyframe graph editor.