The timeline is where you assemble your edit in Sequence — arranging, trimming, and cutting clips over time. Sequence uses a Reflow Timeline: when you move or trim one clip, the timeline automatically shifts the surrounding clips to keep the rest of your edit intact, so a change in one section doesn't knock everything else out of place.
This design matters most when you're editing with other people. Because the timeline reflows around each edit rather than leaving fixed gaps, several collaborators can work in different parts of the same timeline at once without their changes colliding.
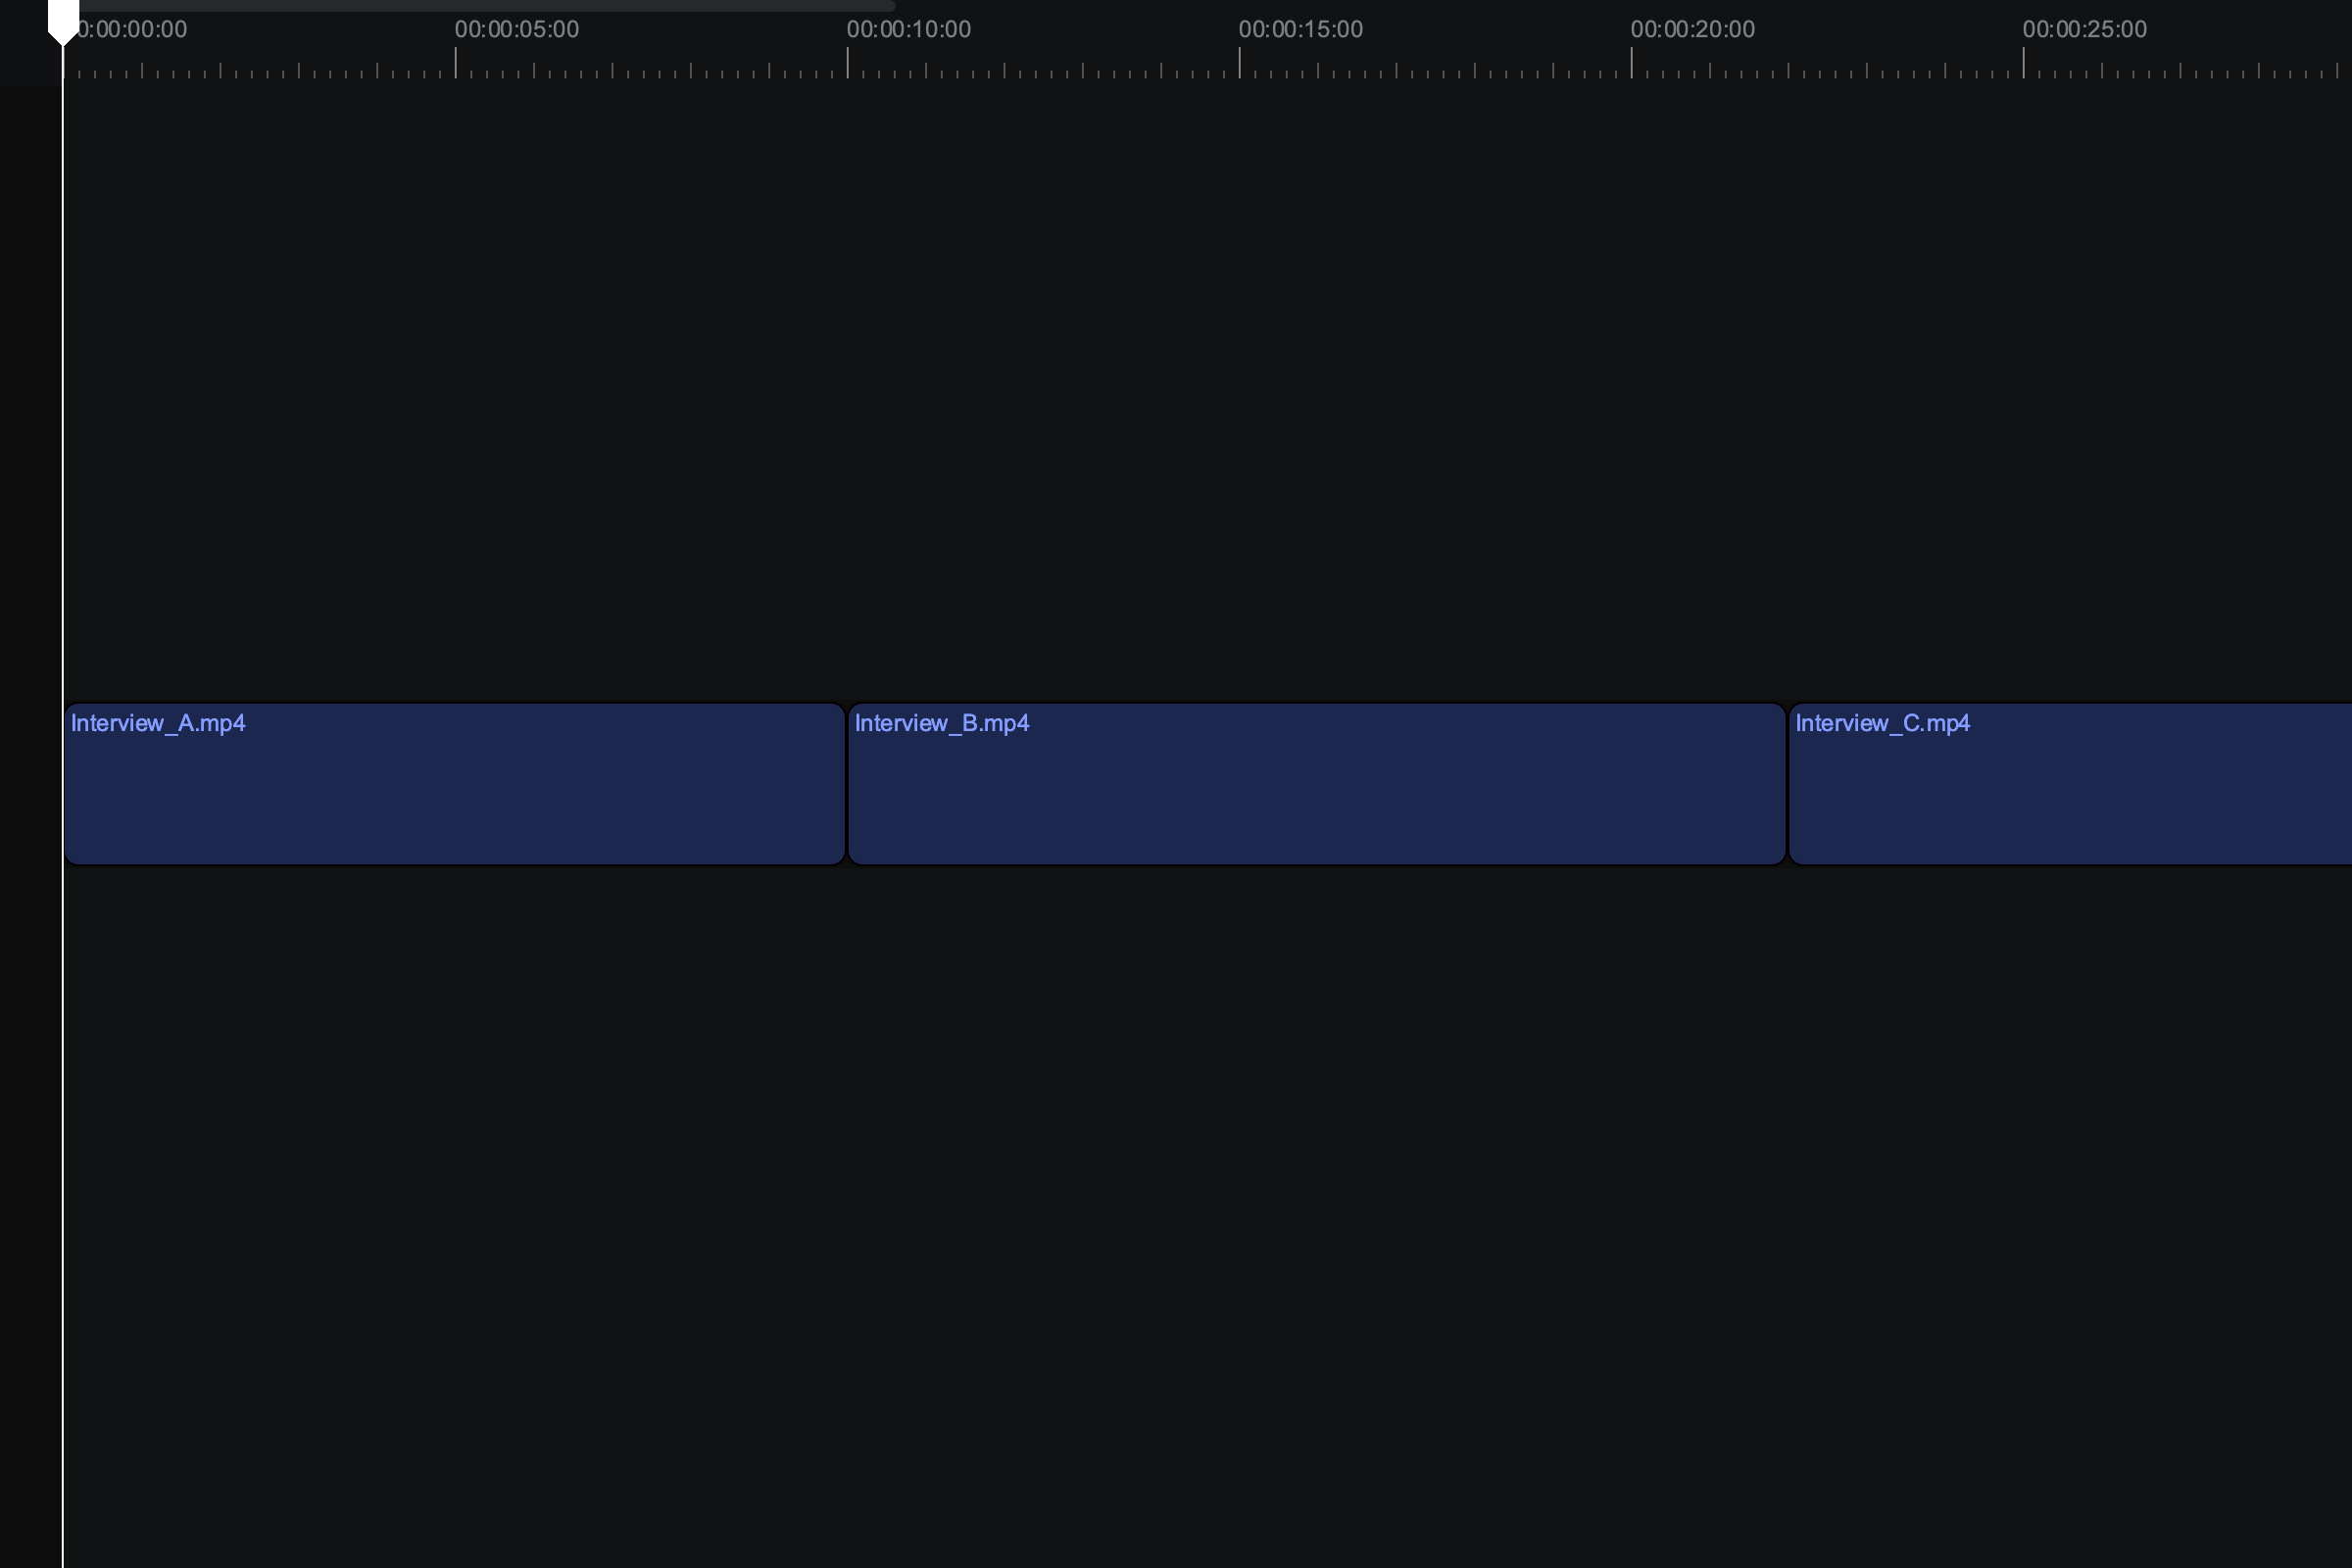
Parts of the timeline#
Starting from the main track and working outward, the timeline is made up of these parts:
Primary lane — The main continuous track. Clips you add here play in sequence, and Sequence reflows the rest of the timeline to fit whenever you move or trim one of them. This is the backbone of your edit.
Attached clips — Clips placed above or below the primary lane. Each attached clip is anchored to the primary-lane clip it sits over, so when you move that primary-lane clip, its attached clips travel with it and stay in sync. If a trim changes which primary-lane clip sits below it, the attached clip re-anchors to the new one.
Skimmer — A preview marker that follows your pointer whenever you hover over the timeline, showing the frame under your cursor without moving the playhead. Skim across a clip to find a moment before you commit to it.
Playhead — The marker for the current point in time. Click anywhere in the timeline to move the playhead there, or let it track playback as the timeline plays. The frame at the playhead is what you see in the viewer.
Toolbelt — The control bar of tools and toggles for interacting with the timeline. Select a tool to change what clicking and dragging in the timeline does.

Choose a tool from the toolbelt#
The toolbelt holds your editing tools — Select, Blade, Advanced Trim, Retime, Hand, and more. Select a tool from the toolbelt, or press its keyboard shortcut, to change what clicking and dragging in the timeline does. Letter shortcuts are the same on macOS and Windows. For each tool and its shortcut, see The control bar tools.
Tip
To find any tool or action along with its shortcut, press Cmd-K (Windows: Ctrl-K) to open the command palette and start typing. See Use the command palette.
Move a clip#
- In Sequence, open the project and the timeline you want to edit.
- Drag a clip from the library into the timeline, or drag a clip already in the timeline to a new spot.
- Release the clip where you want it.
The timeline reflows to make room, keeping the other clips in sync. If you move a primary-lane clip that has attached clips, the attached clips move with it.
Trim a clip#
- Hover over a clip in the timeline. Trim handles appear at its start and end.
- Drag a handle inward or outward to change where the clip begins or ends.
The Reflow Timeline adjusts the adjacent clips to keep their relationships intact. Attached clips hold their position during the trim, then re-anchor if the primary-lane clip beneath them changes.
Cut a clip#
The Blade tool splits a clip in two.
- Select the Blade tool from the toolbelt, or press B.
- Hover over the clip. A line marks where the cut will fall.
- Do any of the following:
- Cut a single clip: Click the clip at the cut point.
- Cut across every clip at that point: Hold Shift and click. Every clip crossing that moment is cut at once.
The clip splits into two independent clips you can then move, trim, or delete separately.
Tip
To cut at the playhead without switching tools, press Cmd-B (Windows: Ctrl-B). To cut only the selected clip at the playhead, press Cmd-Shift-B (Windows: Ctrl-Shift-B).
Pan the timeline#
To move the timeline view without scrolling, use the Hand tool.
- Select the Hand tool from the toolbelt, or press H.
- Drag anywhere in the timeline to pan the view.
The view shifts with your drag, and your clips stay exactly where they are.
Add a placeholder#
A placeholder is a blank element that holds space in the timeline without contributing any picture or sound to the output. Use one to reserve a gap, mark where media will go, or act as a backbone for attached clips.
- Select the Placeholder tool from the toolbelt, or press P. A placeholder attaches to your pointer.
- Move to where the placeholder belongs and click to drop it.
You can trim, cut, and arrange a placeholder like any other clip. It won't add anything visual or audible to the final timeline.
Turn snapping on or off#
Snapping pulls a clip's edge toward nearby points as you drag, so cuts line up cleanly. With snapping on, an edge snaps to the edges of nearby clips, the playhead, and the start or end of a comment — during a clip drag, a trim, a retime, or a component trim. The skimmer snaps to the playhead too, so the Blade tool cuts exactly at the playhead when snapping is on. To toggle snapping, click the magnet icon in the toolbelt, or press Option-M (Windows: Alt-M).
On a multicam timeline, trimming a clip on one angle can snap to a cut point on a clip on a different angle — useful for aligning cuts across camera angles by feel. See Switch multicam angles.
Note
The toolbelt also holds toggles for Audio Skimming (hear audio as you skim across clips), the keyframe editor — press Shift-K, see Edit keyframes in the graph editor — and the track view, which shows your edit as stacked tracks. See Work with component tracks.