"We'll fix it in post" usually means the picture stays flat all through editorial and nobody sees the intended look until a grade weeks later. That gap hides problems — an exposure you can't recover, a cast you didn't catch — until they're expensive.
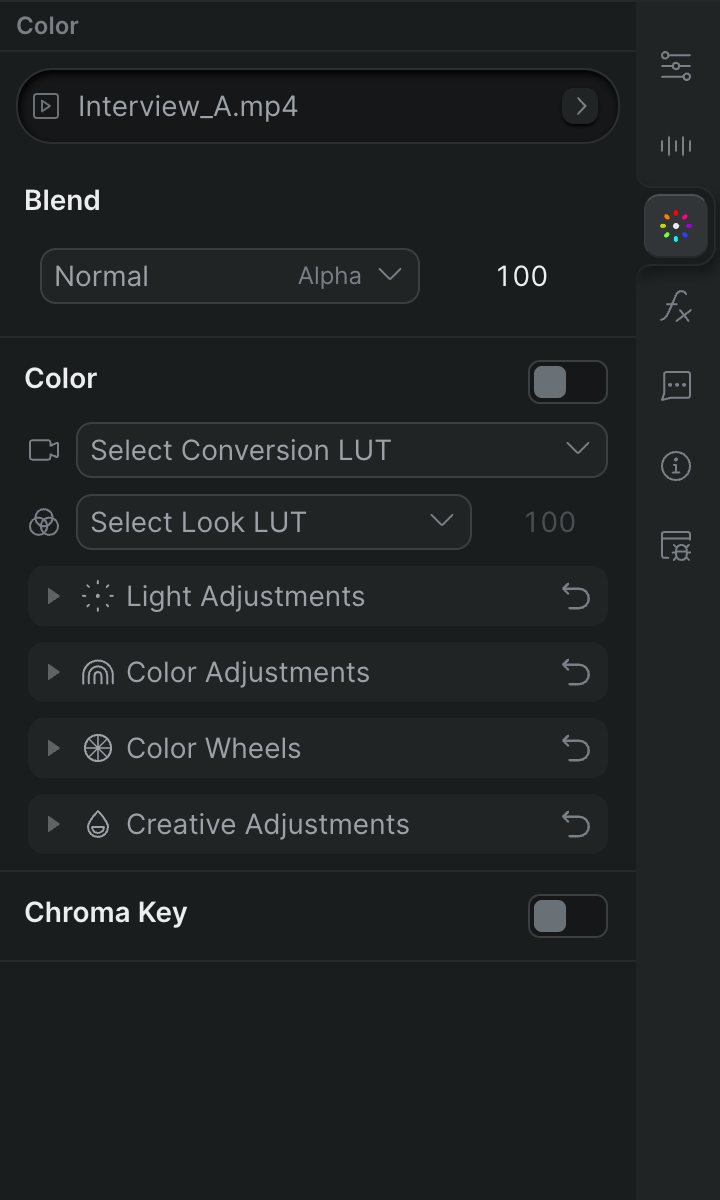
Sequence closes the gap by grading in the Color tab of the Inspector, right beside your edit. Convert log footage with a camera LUT, balance with light and color adjustments, push a look with three-way color wheels, and judge it against real video scopes — all non-destructive, all keyframeable, all without leaving the timeline. Editorial ships with intent on screen, not a flat placeholder.
A grade you can actually work in#
LUTs to start from
- Apply a Camera Conversion LUT to bring log footage from cameras such as ARRI, Sony, Canon, Blackmagic, and Panasonic into Rec 709
- Lay a Creative Look LUT over the top, with an adjustable Look Intensity from 0 to 100
- Upload your own
.cubefile and apply it like a built-in look (see Apply LUTs)
Light and color adjustments
- Shape tone with Exposure, Contrast, Highlights, Shadows, Whites, and Blacks
- Set white balance and saturation with Temperature, Tint, Saturation, and Vibrance
- Finish with a Vignette and film-style Noise (see Light, color, and creative adjustments)
Three-way color wheels
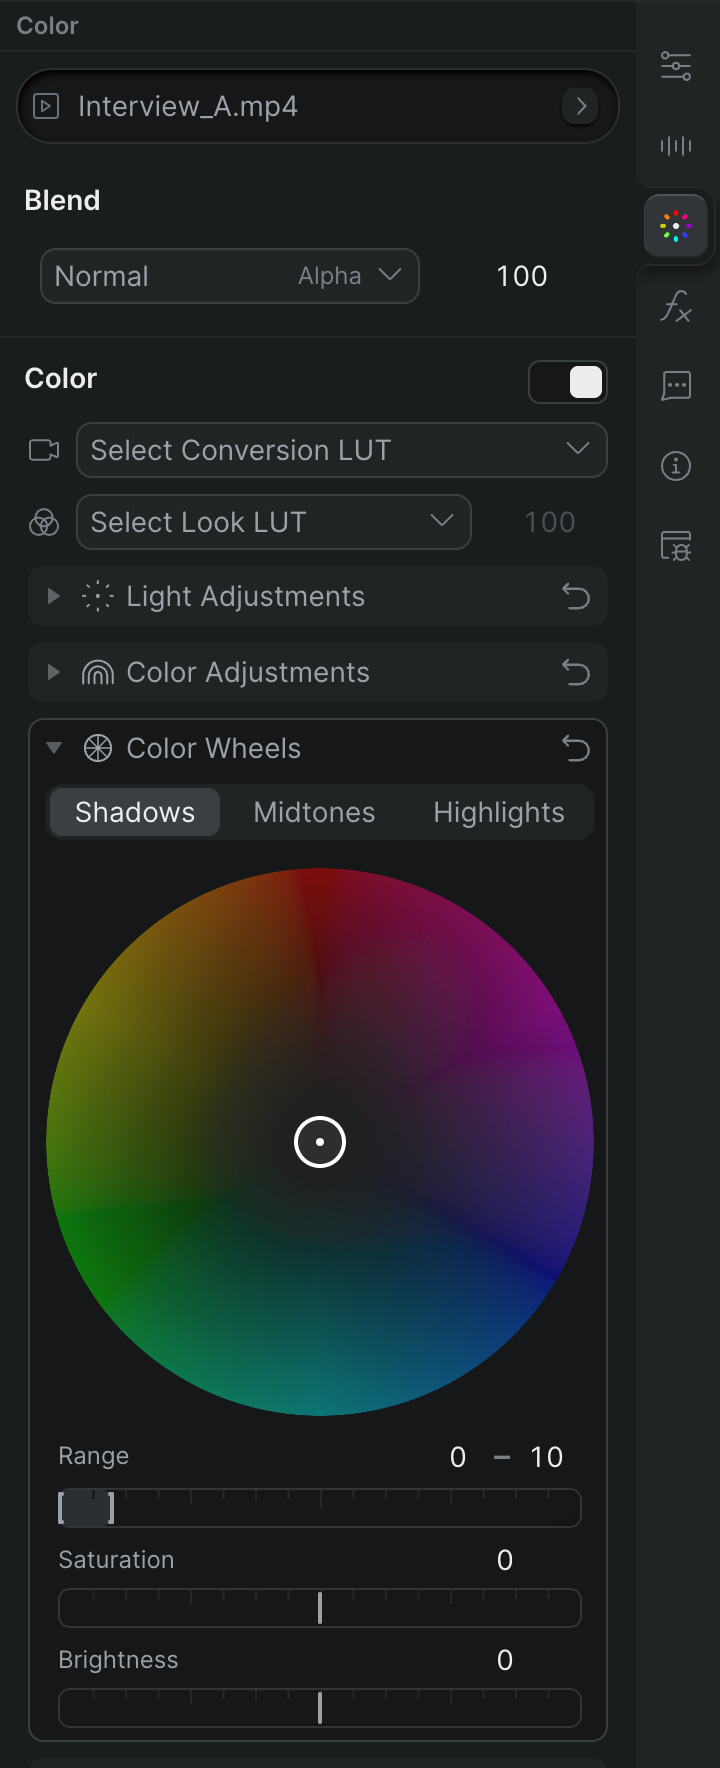
- Grade Shadows, Midtones, and Highlights independently — cool the shadows while you warm the highlights
- Per-range Range, Saturation, and Brightness sliders when a wheel is too broad
- Hold Option while dragging for fine control, and keyframe any wheel to animate a look
Grade by the numbers
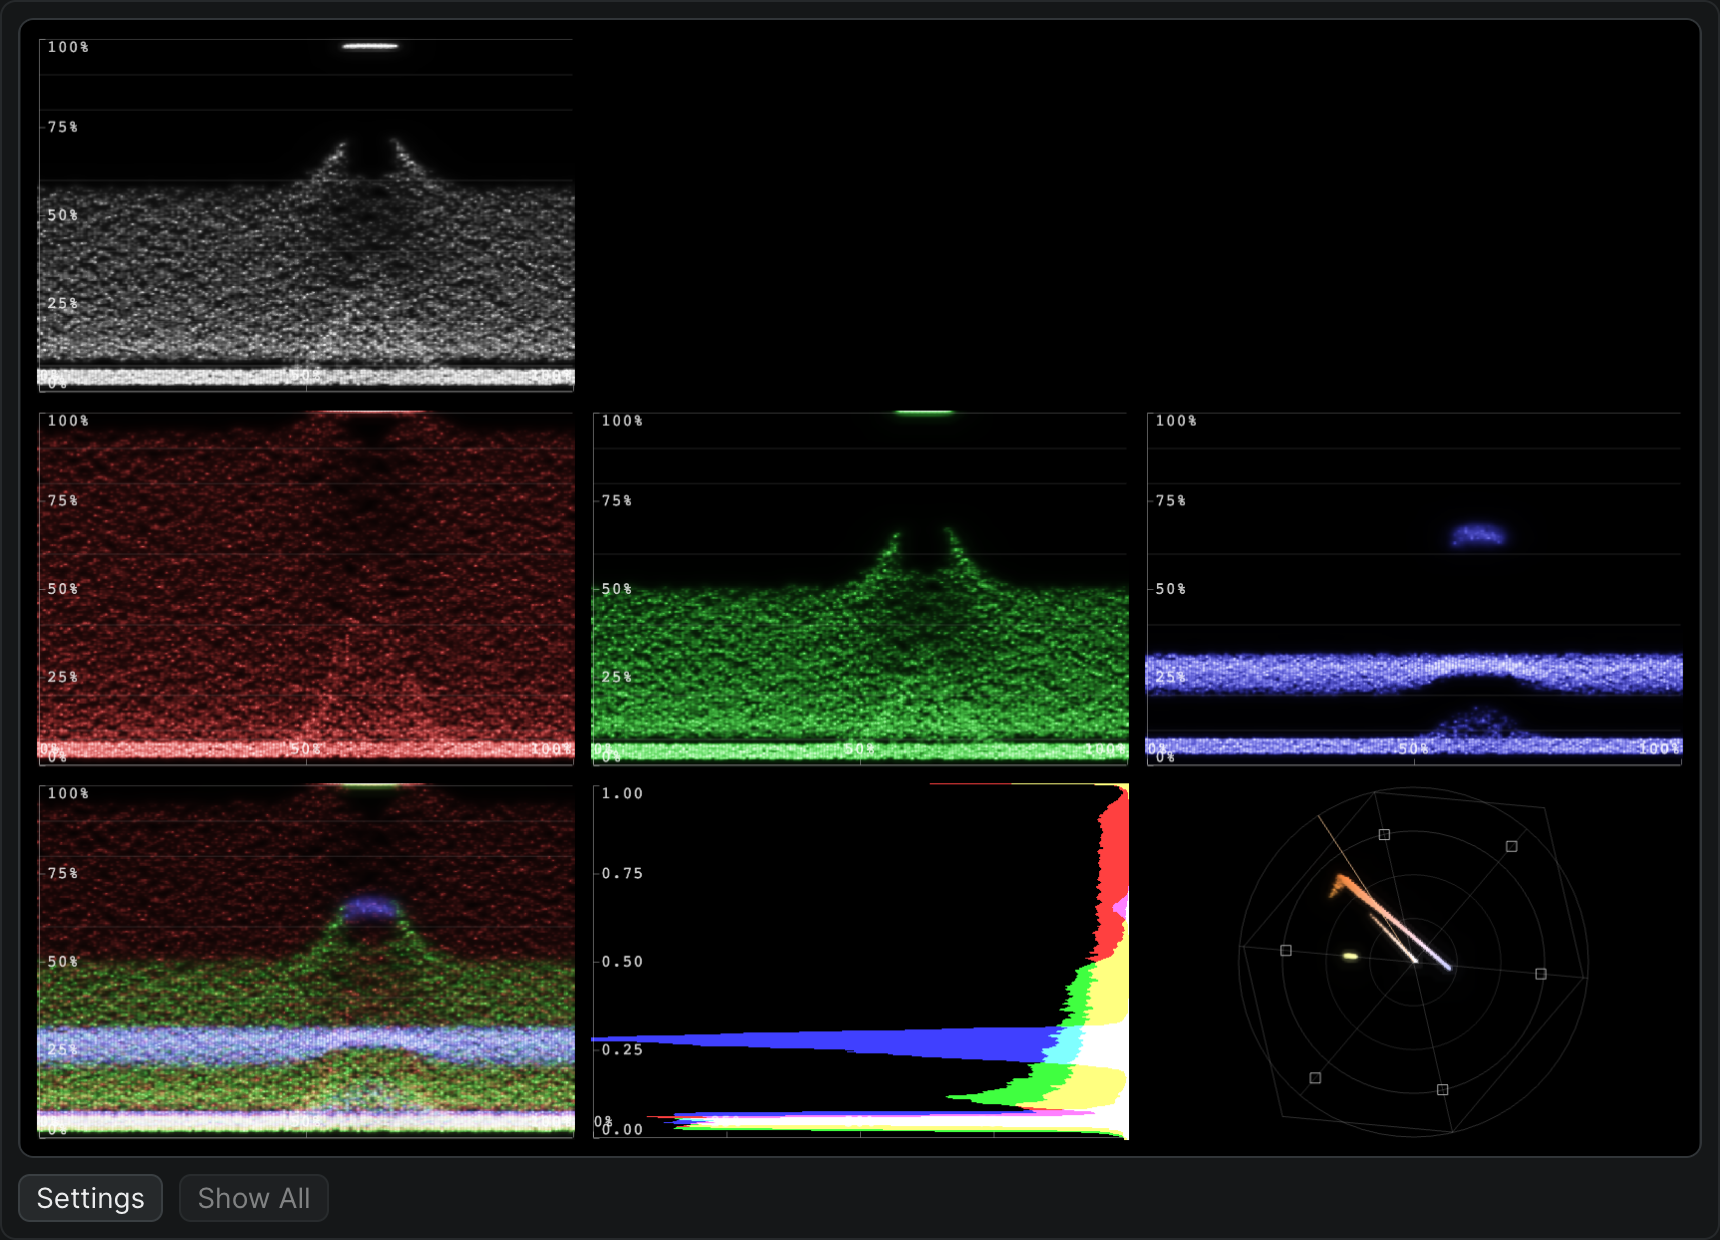
- Read the frame on a waveform, histogram, and vector scope that update live as you scrub
- A skin-tone line and IRE graticule so you set exposure and balance objectively, not by a wishful monitor
- Toggle any scope from the keyboard with Shift-1 through Shift-9 (see Video scopes)
Judge it like a colorist would#
A grade you can't measure is a grade you can't trust across monitors. Sequence's video scopes read the current frame — per-channel and combined waveforms, a histogram, and a vector scope with a skin-tone reference line — so you set black and white points, catch clipping, and check that faces read correctly by the numbers. Scrub to any frame and read it live.
Round-trips to Resolve for the final grade#
Sequence's grade lives in editorial to communicate intent and catch problems early — it isn't meant to replace a finishing suite. When the cut is locked, hand it to DaVinci Resolve: generate an OpenTimelineIO package, which Resolve reads natively, or a Final Cut Pro 7 XML for an XMEML path. Mount your media and open the package with Shuttle, and your cut conforms in Resolve relinked to the original media, ready for the final grade.
What travels, and what doesn't
Timeline packages carry the cut — clips, timing, and structure. Effects and keyframes, including your color grade, don't translate yet, so treat the in-editorial grade as a temp look that communicates intent and the Resolve pass as the final grade. See Timeline packages.
Pro tips#
- Apply a camera conversion LUT first, then make your light and color adjustments on top
- Drop Look Intensity to around 50 to soften a strong creative LUT without picking another
- Use the color wheels when a single Temperature or Tint slider is too broad for the shot
- Keep the scopes open — set exposure on the waveform and balance on the vector scope's skin-tone line
- Toggle the color effect off and on to compare your grade against the original without losing settings
Who it's for#
- Editors setting temp looks so a rough cut ships with intent, not a flat placeholder
- Colorists working directly alongside editorial before the finishing pass
- Directors and producers reviewing a look in context, in real time
- Documentary and interview cutters balancing mixed-camera footage to a common base
- Teams that grade a temp in the cloud and finish the pass in Resolve