Sequence's built-in effects — Color, Blend, Halation, Chroma Key, and the audio modules like Reverb and Compressor — cover the common jobs. A custom effect is one that doesn't ship with Sequence. The quickest way to get one is to describe it to Snippy, Sequence's in-app AI assistant: Snippy builds the effect, saves it into the project, and can apply it to the clip you're working on. You don't have to open the effect Library or write any effect code.
A custom effect is either a video effect or an audio effect. Video effects come in two flavors: one that adjusts the clip's existing picture (a look or grade, like a warm tint), and a generative one that draws its own pattern — a background, wipe, or overlay that looks the same over any clip. Audio effects process the clip's sound instead — a tape echo, a bitcrusher, a telephone filter. Say which you want in your request, and Snippy builds that kind.
Ask Snippy for the effect#
- In Sequence, open the project and select the clip you want the effect on.
- Open the Snippy launcher by pressing Cmd-Alt-K (Windows: Ctrl-Alt-K), or open the Snippy panel from the right sidebar. See Chat with Snippy for both ways in.
- Describe the effect you want in plain language, and say whether it's for picture or sound — for example, "Make a video effect that gives this clip a VHS look, with controls for scanline strength and color bleed," or "Build an audio effect that sounds like a tape echo, with delay, feedback, and mix controls."
- Name the controls you want to adjust afterwards. Snippy exposes those as sliders, knobs, color pickers, and switches on the clip, so asking for them up front saves a round trip.
- Press Enter to send. Snippy works in the background and reports back in the panel when it's done.
Snippy saves the finished effect into the project's effect Library, where it appears with a version badge, an audio or video kind label, and a green validation status dot — the same as an effect built by hand. Ask Snippy to apply it to the selected clip in the same request, or add it yourself from the Applied sub-tab as described below.
Iterate in the same conversation
If the first result isn't quite right, reply in the same session — "make the scanlines finer," "add a control for the highlight roll-off" — rather than starting over. Snippy can load the effect's existing source and revise it, publishing a new version each time.
The kind is fixed at creation
An effect's kind — video or audio — is locked by its first published version. If Snippy built the wrong kind, ask it for a new effect rather than trying to convert this one.
Apply the effect to a clip#
Whether Snippy built the effect or someone handed it to you, you add it to a clip the same way:
- Select a clip on the timeline and open the Effects tab in the Inspector.
- Open the Applied sub-tab, next to Library in the tab bar.
- Click the + button in the Applied header.
- Choose your effect from the list. Each entry shows its audio or video kind label. Only effects that pass validation appear here, and audio effects appear only for clips that carry sound.
Sequence adds the effect to the clip and shows its controls — grouped under any headings the effect defines — as a module in the Applied sub-tab. Adjust the controls right there in the Inspector to dial in the look.
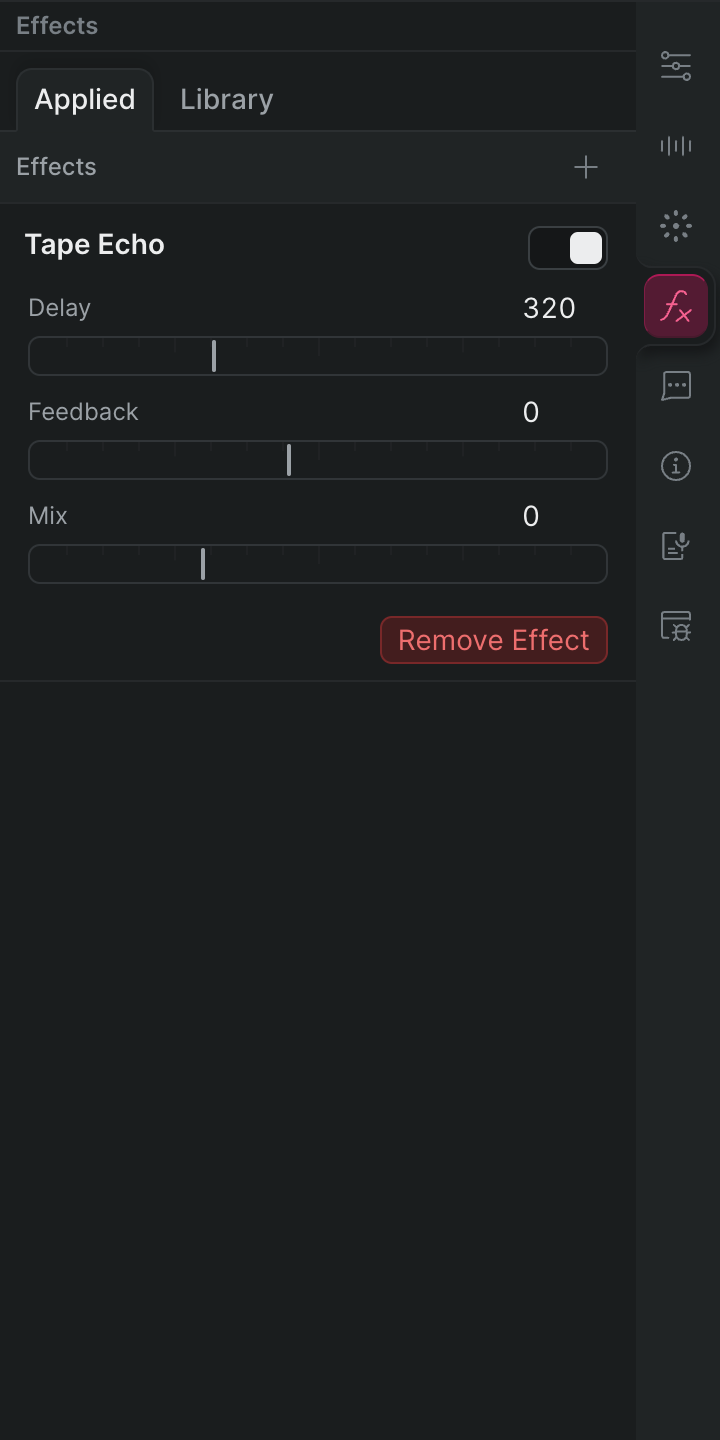
You can also ask Snippy to do this for you — it can list the project's custom effects, see which ones are already on an element, and apply or remove one.
Animate a custom effect
Every control the effect exposes is an ordinary Sequence property. To animate the effect over time, arm a control for keyframing and change its value across the clip, exactly as you would Position or Opacity. See Keyframe animation.
Remove an effect from a clip#
To take an effect off a clip, click Remove Effect at the bottom of its module in the Applied sub-tab. This removes it from that clip only — the effect stays in the Library for reuse elsewhere.
Build one yourself instead#
If you'd rather write the effect yourself, bring one a colleague shared, or hand the job to an outside AI assistant like Claude or ChatGPT, use the effect editor in the Library. See Create a custom effect manually.