A custom effect is a video or audio effect you bring yourself and apply to any clip, instead of using one of Sequence's built-in effects like Color, Blend, Chroma Key, Reverb, or Compressor. Someone on your team, or an AI, hands you the effect; you drop it onto a clip and adjust it. Custom effects live entirely in the Effects tab of the Inspector, for whatever clip is selected — audio ones included.
Video and audio custom effects#
Every custom effect is either a video effect or an audio effect. Sequence labels the kind on every list row and in every picker, next to the effect's name.
- Video effects change the picture. They come in two flavors: a look, which adjusts the clip's existing picture the way a grade or a stylized filter does, and a generative effect, which draws its own pattern and ignores the clip's picture, so it looks the same over any clip. Generative effects are handy for backgrounds, wipes, and overlays.
- Audio effects change the sound — a tape echo, an auto-wah, a bitcrusher, a telephone filter, or anything else you'd reach a plugin for. They process the clip's audio the same way the built-in Reverb and Compressor modules do, but with controls you define. See Audio effects for the built-in set.
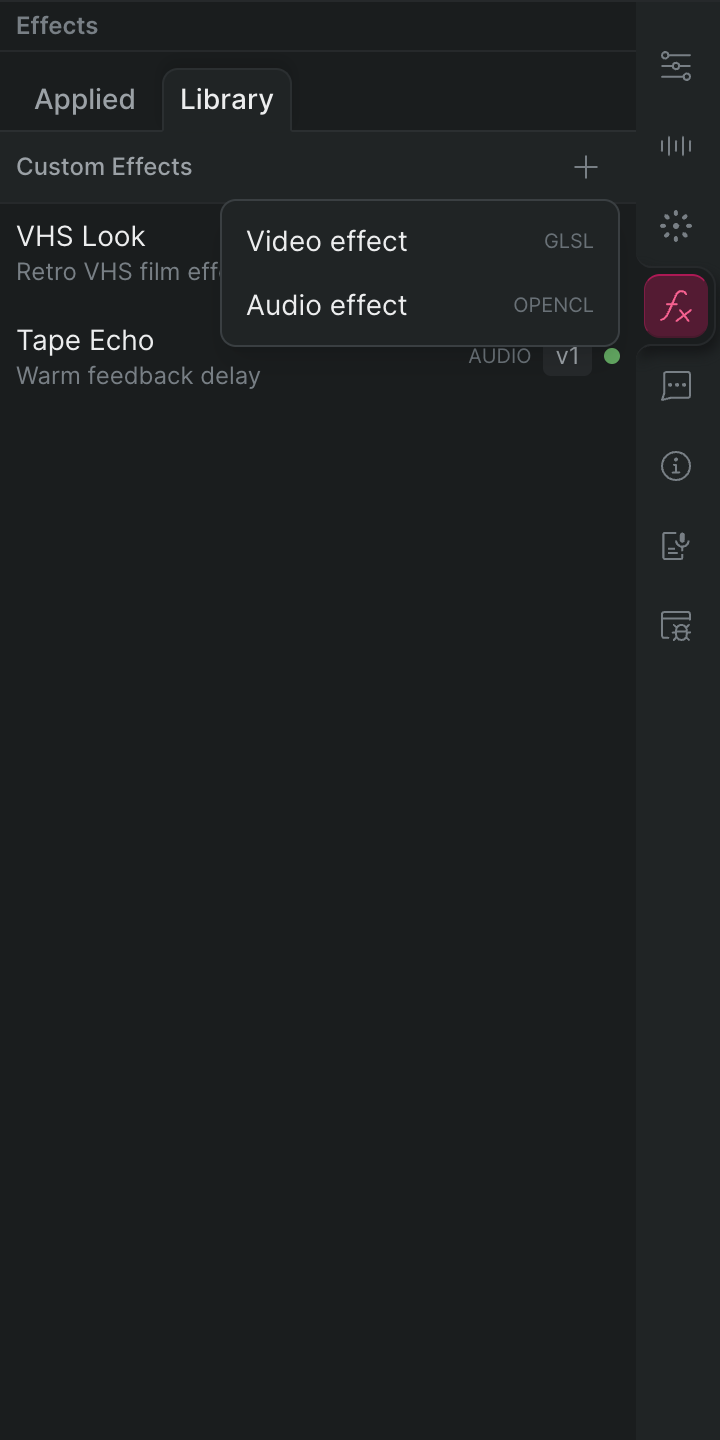
An effect's kind is fixed when it's created and never changes, so a video effect can't later become an audio one. You pick the kind when you start a new effect, from the + button in the Library.
Audio effects need audio
An audio effect only appears in the + list for clips that carry sound. On a silent clip — a title, a still, a generator — it's left out of the list.
Where custom effects live#
The Effects tab has two sub-tabs, switched with a small tab bar at the top:
- Applied shows the effects currently on the selected clip. Each one gets its own module with its adjustable controls and a Remove Effect button. A + button in the module's header lists the project's validated custom effects so you can add one to the clip. Removing an effect here only takes it off this clip — it stays in the Library for reuse.
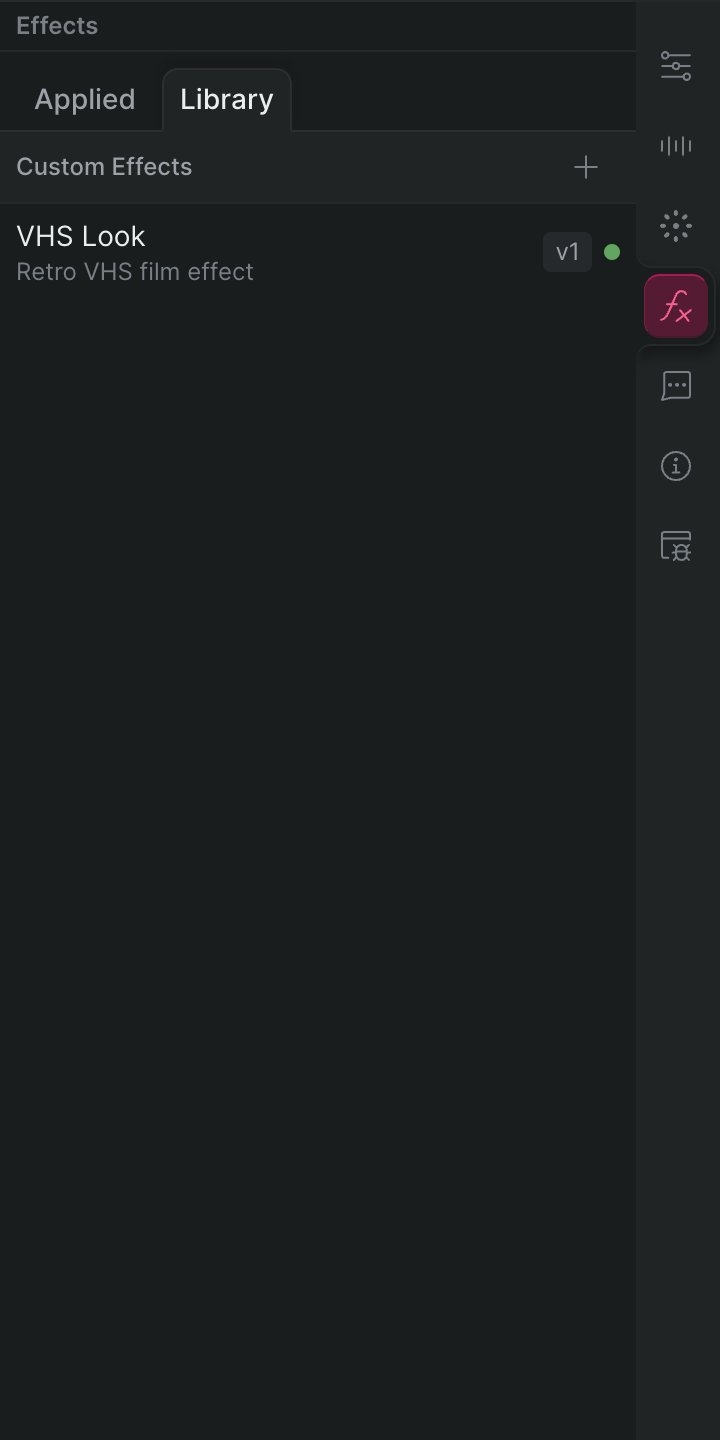
- Library shows every custom effect that exists in the project, not just the ones applied to this clip. Each row lists the effect's name, an optional one-line description, an audio or video kind label, a version badge (such as "v3") once it's been published at least once, and a colored status dot — green means it passes validation, red means it fails. Click a row to open that effect, or click the + button and choose Video effect or Audio effect to start a new one.
Adjustable controls#
Each applied effect exposes its own set of adjustable controls — sliders, knobs, color pickers, and switches — right in its Applied module. Change them to tune the effect on that clip. Audio effects use number controls only, so their modules are sliders and knobs rather than color pickers.
Every control is an ordinary Sequence property, the same as Position or Opacity, so you can arm it for keyframing and animate it over time exactly the same way. That's how you animate a custom effect. See Keyframe animation.
Versions#
A custom effect isn't a single, fixed thing — it keeps a small history. Every time you publish a change, Sequence adds a new version and keeps the earlier ones, so you can revert if a change doesn't work out. The version badge in the Library tracks this.
Applying versus building#
You don't need to know anything about how an effect is built to use one someone else made — applying it is just picking it from the + list on the Applied sub-tab.
Making one has two routes. The quickest is to describe the effect to Snippy, Sequence's in-app AI assistant, and let it build and save the effect for you — see Create a custom effect with Snippy. For an audio effect, Snippy measures the clip's sound first and checks its work against that measurement.
The other route is the effect editor in the Library, where you paste in your own code and controls — or use Copy LLM Prompt to have an outside assistant like Claude or ChatGPT write them for you. See Create a custom effect manually.