Sequence has no built-in transition presets — there's no crossfade, dissolve, or wipe, and no one-click fade-in or fade-out command. You create a fade the same way you animate any other property: keyframe a clip's opacity to fade the picture, and its volume to fade the sound. Set a keyframe at each end of the fade, and Sequence interpolates between them.
Because a fade is only keyframes, the full keyframe workflow applies — arming a property, moving between keyframes, and removing them. For that workflow, see Animate a property with keyframes. This page covers the two properties you fade and where their controls live.
Fade a clip's picture#
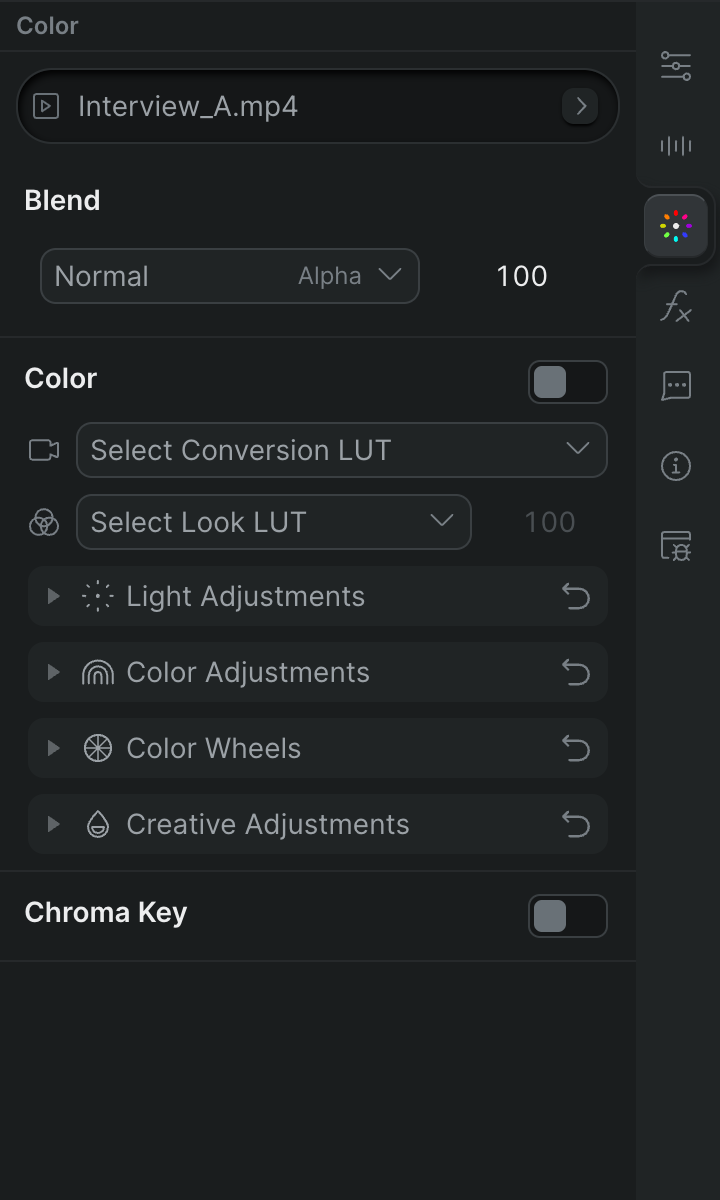
Fade the picture by keyframing its opacity — the percentage field in the Blend module of the inspector's Color tab. Opacity runs from 0% (fully transparent) to 100% (fully visible) and defaults to 100%.
- In Sequence, open the project and select the clip on the timeline.
- Open the inspector's Color tab (click Color, or press G then C — the same on macOS and Windows). The Blend module shows the clip's opacity as a percentage field, marked with a percentage icon.
- Move the playhead to where the fade should start.
- Set the opacity to the starting value — 0% for a fade-in — then click the keyframe button (the diamond beside the field) to set a keyframe at the playhead.
- Move the playhead to where the fade should finish and set the opacity to the ending value — 100% for a fade-in. Sequence adds a second keyframe automatically.
Sequence interpolates the opacity between the two keyframes, so the picture fades from transparent to fully visible over that span. To fade the picture out instead, reverse the values — 100% then 0% — at the tail of the clip.
Note
Opacity is editable only when the clip's blend mode is Normal. If the opacity field is greyed out, set the blend-mode dropdown at the top of the Blend module back to Normal. The Blend module appears only for clips with a video stream — an audio-only clip shows No video stream found in the Color tab and exposes only its Volume controls.
Fade a clip's sound#
Fade the sound by keyframing its volume — the percentage field in the Volume module of the inspector's Audio tab. Volume runs from 0% (silent) up to 800% and defaults to 100%.
- In Sequence, select the clip whose sound you want to fade.
- Open the inspector's Audio tab (click Audio, or press G then A — the same on macOS and Windows). The Volume module shows the level as a percentage.
- Move the playhead to where the fade should start.
- Set the volume to the starting level — 0% for a fade-in — then click the keyframe button beside the volume field.
- Move the playhead to where the fade should finish and set the ending level. Sequence adds the second keyframe.
Sequence interpolates the level between the two keyframes, fading the sound up or down over that span. For muting a clip, detaching its audio, and the rest of the volume controls, see Detach and adjust clip audio.
Tip
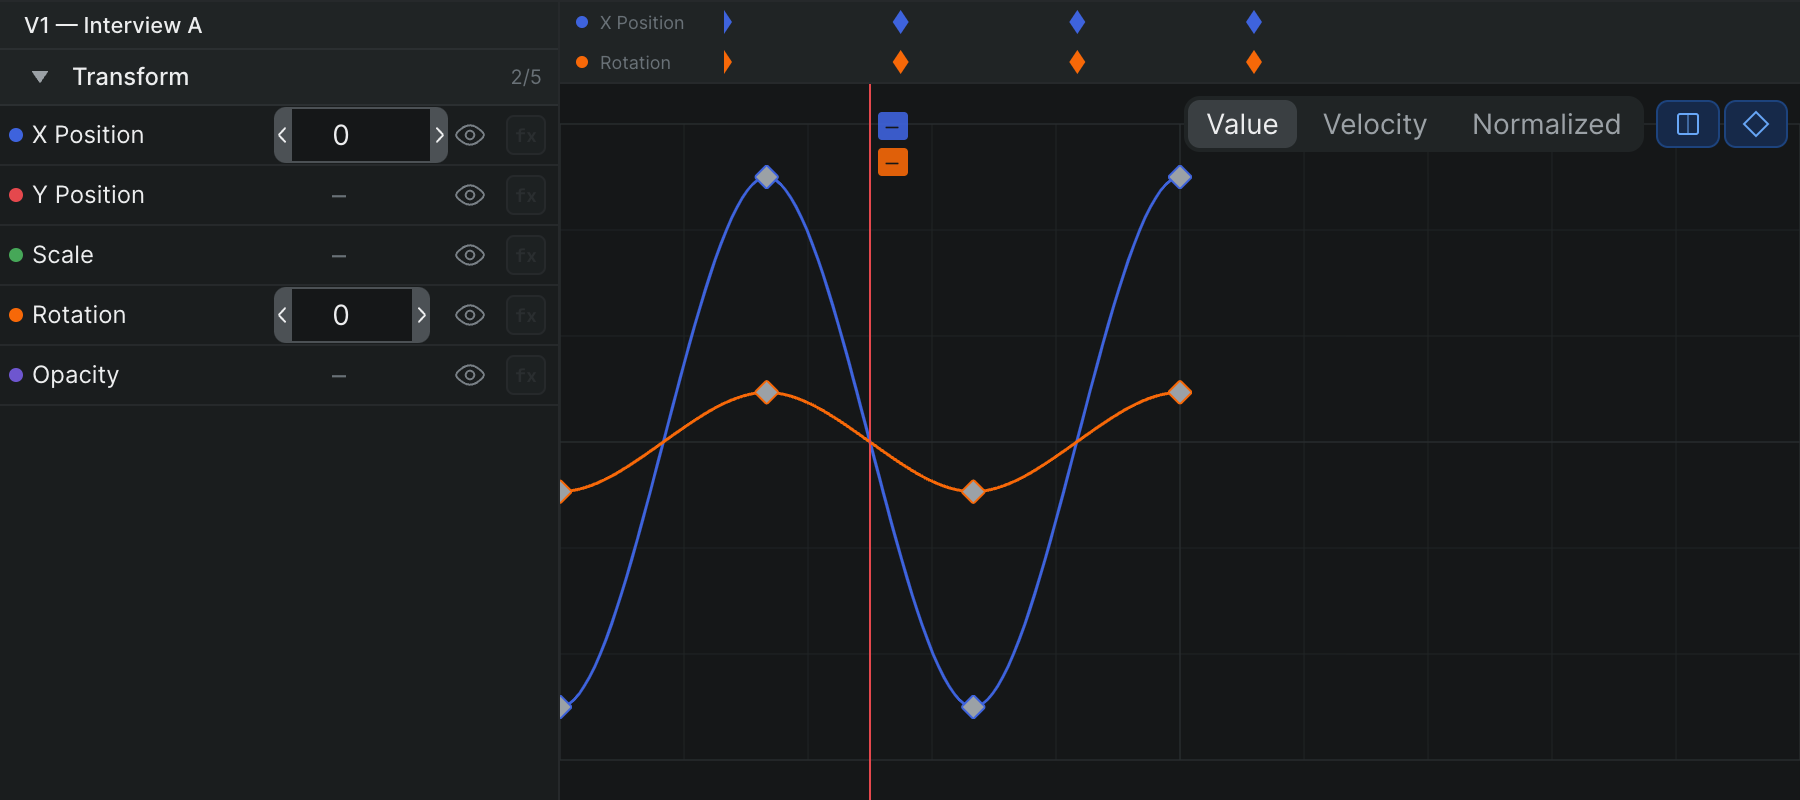
A plain fade moves at a constant rate between its two keyframes. To make it ease in or out — start or finish gently rather than linearly — shape the curve in the graph editor. See Change keyframe easing.
Note
Opacity, blend-mode, and volume changes are part of the project: they sync to everyone with access as you make them, and you can undo them.