In Sequence, you flag the parts of your media that matter by turning a range into a select (a named, marked range you keep for reference). Once you have a select, you can name it, give it a label color, add searchable project tags, rate it with stars, and react to it — all from one right-click menu, and all visible to everyone in the project.
Use this when you're combing through footage and want to mark keepers, group shots by theme, or leave a rating for your team to sort by. To group whole files instead of ranges, see Organize files.
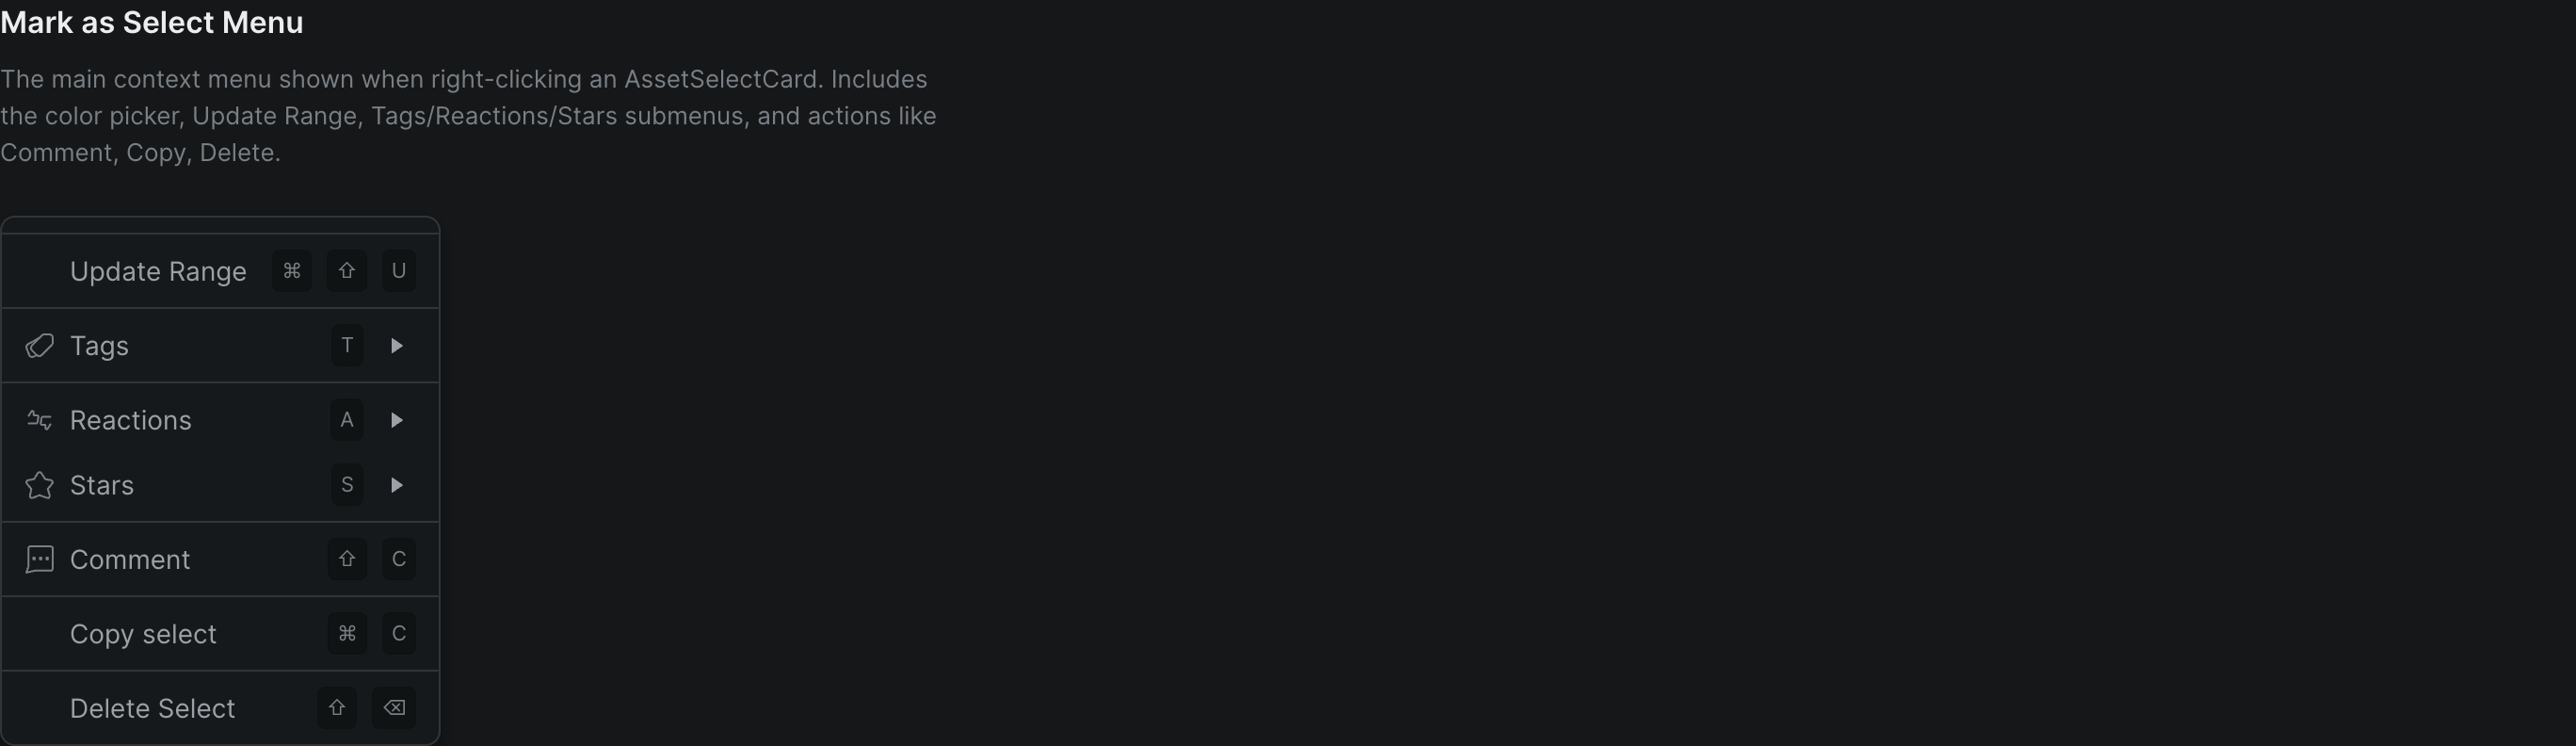
Mark a range as a select#
- In your timeline, set or highlight the range you want to flag.
- Right-click the range and choose Mark as Select.
Sequence turns the range into a select and opens its menu, where you can name, color, tag, and rate it. Everyone in the project can now see the select.
Name and color-code a select#
Give a select a name and a label color so you and your team can identify it at a glance. Both controls live in the same right-click menu.
- Right-click the select to open its menu.
- In the Mark as Select field, type a description of the range (the field prompts you with Describe it...).
- Press Enter (or Alt-Enter) to save the name.
- Click a color swatch to label the select: Red, Orange, Yellow, Green, Cyan, Blue, Purple, or Magenta.
Sequence applies the color to the select so you can spot it at a glance. To remove a color, click the None swatch.
With a select selected, you can apply a label color straight from the keyboard: press R for Red, Y for Yellow, C for Cyan, B for Blue, or M for Magenta, or X to clear the color. Orange, Green, and Purple take their key from their palette name — Z for Orange (Zesty), E for Green (Evergreen), and V for Purple (Violet) — so no two colors share a letter.
Note
A newly marked select takes the last color you applied to any select in the project, so a run of marks keeps a consistent color until you choose a different one or clear it with the None swatch (or X).
Tip
Use one color per meaning across the project — for example Green for approved takes and Red for retakes — so the whole team reads the timeline the same way.
Tag a select#
Tags are searchable labels shared across the whole project, so the same tag can mark selects in any clip.
- Right-click the select to open its menu.
- Click Tags (or press T). The Project Tags panel opens.
- In the Search Tags... field, type to filter the project's tags (or press Alt-T to jump to the field).
- Click a tag to add it to the select. A checkmark appears next to tags that are applied.
- To remove a tag, click a tag that already has a checkmark.

To make a tag that doesn't exist yet, type its name in the search field, then click Create "name" tag (or press Cmd-Enter — Windows: Ctrl-Enter). Sequence adds the new tag to the project and applies it to the select.
Note
Project tags are shared. A tag you create is available on every select in the project, and other people can apply it too.
Rate and react to a select#
Ratings and reactions live in the same right-click menu, so you can score footage as you review it.
- Right-click the select to open its menu.
- Do any of the following:
- Rate it with stars: Click Stars (or press S), then choose Rate 1 Star through Rate 5 Stars (or press 1–5).
- React to it: Click Reactions (or press A), then click Favorite (F) or Reject (R).
- Clear a reaction: In Reactions, click Remove rating (X).
The letter keys work while the select's menu is open.
More actions on a select#
The same right-click menu holds a few related actions:
- Comment (or press Shift-C) starts a comment on the select. See Commenting.
- Copy select (or press Cmd-C — Windows: Ctrl-C) copies the select.
- Update Range (or press Cmd-Shift-U — Windows: Ctrl-Shift-U) resets the select to your current range.
- Delete Select removes the select.
Warning
Delete Select removes the select and its name, color, tags, and rating. It is visible to everyone in the project.